Blackberry Pie

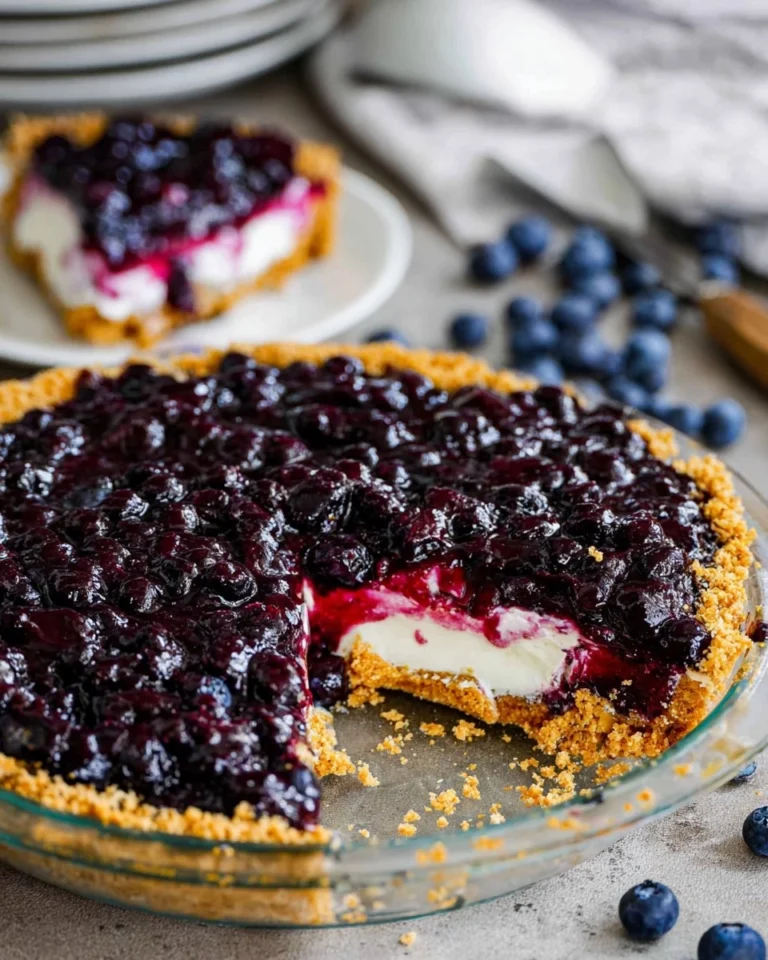
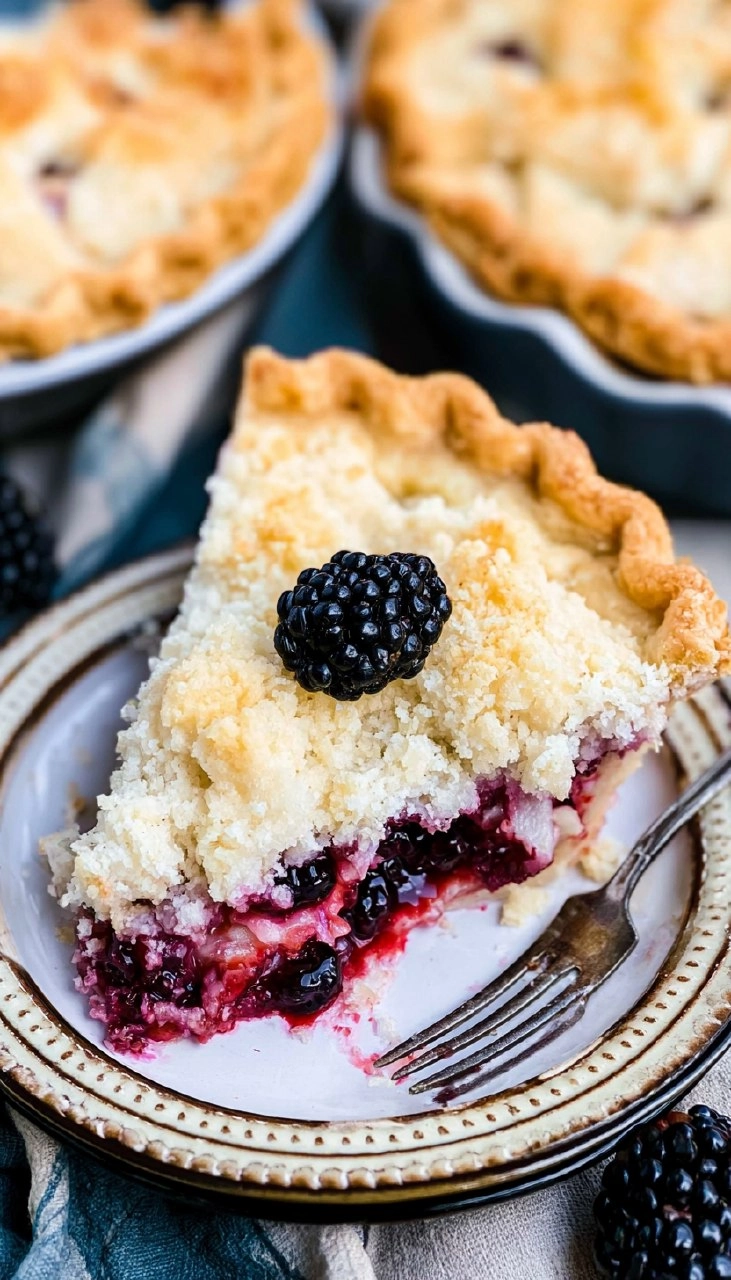
Blackberry pie has a way of wrapping you in its comforting embrace, combining juicy, tart blackberries with a flaky, buttery crust that just melts in your mouth. As you slice through the pie, the deep purple filling oozes slightly, revealing its vibrant color and enticing aroma. The perfect blend of sweetness and tang creates a slice that’s both nostalgic and utterly delicious.
Table of Contents
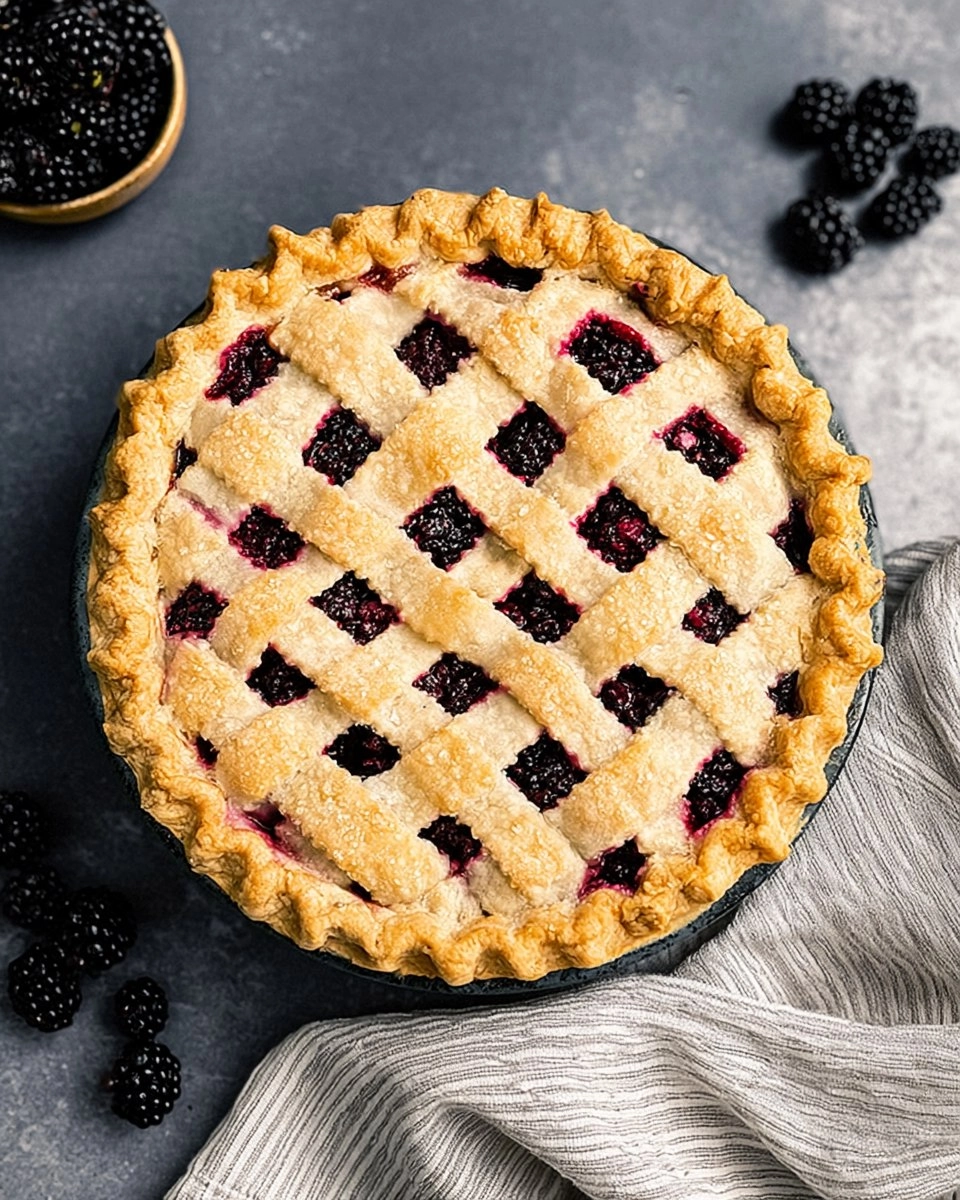
I first stumbled upon this recipe during a summer visit to a quaint little farm stand, where I sampled a piece of homemade blackberry pie. The moment the warm slice touched my tongue, I knew I had to recreate that magic in my own kitchen. The fragrance of fresh blackberries and buttery pie crust is irresistible, making it an ideal dessert for gatherings or a lovely treat during quiet evenings at home. This blackberry pie recipe is not just easy; it brings together casual elegance and homemade warmth that anyone can appreciate. I invite you to try it out—let’s create memories one slice at a time!
Why You’ll Love This Recipe
- Simple & Quick: With just about an hour of active prep and baking time, you’ll have a pie that impresses without a fuss.
- Irresistible Flavor: The sweet-tart blackberries paired with warming spices create a delicious balance that dances on your palate.
- Eye-Catching Appeal: The vibrant purple filling and golden crust make for a stunning centerpiece at any gathering.
- Flexible Serving: Perfect for any occasion—serve it warm for dessert, at a picnic, or alongside breakfast coffee.
- Diet-Friendly Options: Easily adaptable for gluten-free or dairy-free diets with proper substitutions.
Ingredients You’ll Need
- 2 recipes all butter pie crust: A rich, flaky crust is essential; you can use store-bought or make your own for freshness.
- 1 egg (for egg wash): An egg wash gives the crust a beautiful golden finish; milk is a substitute if you prefer.
- 12 tablespoons (170g) cold unsalted butter, diced or grated: Cold butter creates those perfect flaky layers in the crust; avoid room temperature butter.
- ⅔ cup (133g) granulated sugar: This is for the filling, enhancing the natural sweetness of the blackberries.
- 1 ½ cups (186g) all-purpose flour: Necessary for the crust, providing structure—consider a gluten-free blend if needed.
- Pinch of salt: Balances the sweetness, enhancing the overall flavor.
- 5 cups blackberries (about 24 ounces or 650g): Fresh or frozen, ensure berries are thawed and drained for best results.
- ⅔ cup (133g) granulated sugar, plus more for sprinkling: For the filling, gives a nice sweet kick to the tartness of blackberries.
- 1 tablespoon lemon juice: Brightens up the flavors, making the pie even more refreshing.
- ¼ teaspoon ground cinnamon: Adds warmth and depth to the filling; feel free to experiment with nutmeg for a twist.
- 4 tablespoons (30g) cornstarch: Helps thicken the berry juices, keeping your pie from being too runny.
How to Make Blackberry Pie Recipe
Prepare the Pie Crusts: Roll out both pie crusts into circles about 9-10 inches in diameter. Place one crust in a standard 9-inch pie plate and chill them in the refrigerator for at least 30 minutes.
Slice the Crust: After chilling, remove the rolled crust, and slice it into strips, roughly ½ to ¾ inch wide. Return the strips to the refrigerator to chill for another 10 minutes to keep the butter firm.
Make the Filling: In a medium bowl, combine the 5 cups of blackberries, ⅔ cup sugar, 1 tablespoon lemon juice, ¼ teaspoon ground cinnamon, and 4 tablespoons cornstarch. Toss gently with your hands to coat the berries without crushing them, and ensure they are thawed and drained to avoid excess liquid in the pie.
Assemble the Pie: Pour the blackberry filling into the chilled crust in the pie plate. Distribute it evenly.
Create the Crust Top: Take the chilled strips from the refrigerator. Start at one edge of the pie and lay every other strip down, evenly spaced. Fold back every other strip and place a strip perpendicularly across. Lay those back down and continue this process, alternating which strips are folded back, creating a lattice design.
Crimp the Edges: Once all the strips are used, crimp the edges of the pie to seal it. This is where you can get creative—make it cute or fancy as you prefer!
Prepare for Baking: Brush the lattice crust with the egg wash and sprinkle a little granulated sugar on top for sparkle. Protect the edges with a pie shield, so they don’t burn during baking.
Bake the Pie: Preheat your oven to 425°F. Place the pie on a lined cookie sheet (to catch any spilling) and bake for 10 minutes. Reduce the temperature to 350°F and continue to bake for 35-45 minutes until the crust’s edges are starting to turn golden brown and the filling is bubbling around the edges.
Cool Before Slicing: Remove from the oven and allow the pie to cool completely, ideally for a few hours for easier slicing. A tip—chilling it in the fridge after it has cooled helps the filling set nicely and reduces runniness.
Serve and Enjoy: When ready to serve, pair warm slices of your blackberry pie with a scoop of vanilla ice cream or a dollop of whipped cream for a truly delightful experience.
Storing & Reheating
To store your blackberry pie, let it cool completely and cover it with plastic wrap or aluminum foil; it’ll last up to 2 days at room temperature. For longer storage, refrigerate it in an airtight container for up to a week. You can also freeze it, wrapped tightly, for up to 3 months. To reheat, place it in a 350°F oven for about 15-20 minutes until warmed through; consider adding a scoop of ice cream right before serving for extra indulgence.
Chef’s Helpful Tips
- Avoiding a soggy crust? Make sure your berries are well-drained before adding them to the pie.
- Use cold butter for your crust—this is key to achieving that tender, flaky texture.
- If your filling looks too runny before baking, sprinkle in a little extra cornstarch to help absorb excess liquid.
- Leaving the pie to cool completely before slicing helps to ensure a neater cut and prevents juices from running all over the plate.
- If you want to prepare the pie in advance, you can assemble it, freeze it, and then bake from frozen—just add a few extra minutes to the baking time!
There’s something incredibly fulfilling about pulling a freshly baked pie out of the oven, especially one that fills your home with such warmth and nostalgia. Blackberry pie is the kind of dessert that not only satisfies a sweet tooth but also brings back fond memories of summertime and family gatherings. Whether you’re an experienced baker or just dabbling, this blackberry pie recipe is incredibly approachable and calls for simple ingredients. I encourage you to dive in, get your hands floury, and enjoy the fruits of your labor!
Recipe FAQs
Can I use frozen blackberries for this recipe?
Absolutely! Frozen blackberries work beautifully in this recipe. Just make sure to thaw and drain them well before using, as this prevents a soggy filling.
How can I make this blackberry pie gluten-free?
You can swap out the all-purpose flour in the crust for a 1:1 gluten-free baking blend. Just ensure all other ingredients are certified gluten-free as well.
What’s the best way to store leftover pie?
Keep the leftover pie covered at room temperature for 2 days, or place it in the fridge for up to a week. Make sure it’s in an airtight container to maintain freshness.
Can I make the pie ahead of time?
Definitely! You can prepare the pie, cover it well, and freeze it before baking. When you’re ready to bake, just pop it in the oven without thawing, but add a few minutes to the baking time. Enjoy!
PrintMore PIES Recipes
Did You Enjoy Making This Recipe? Please rate this recipe with ⭐⭐⭐⭐⭐ or leave a comment.
📖 Recipe Card
Blackberry Pie
- Prep Time: 30 minutes
- Cook Time: 45 minutes
- Total Time: 1 hour 15 minutes
- Yield: 10 servings 1x
- Category: Pies
- Method: Baking
- Cuisine: American
Description
This blackberry pie is a delicious homemade dessert with a buttery crust and sweet blackberries. Perfect for gatherings, it’s easy to prepare and offers a burst of flavor in every slice!
Ingredients
- 2 recipes all butter pie crust, from a package or from scratch
- 1 egg, for eggwash
- 12 tablespoons (170g) cold unsalted butter, diced or grated
- ⅔ cup (133g) granulated sugar
- 1 ½ cups (186g) all-purpose flour
- Pinch salt
- 5 cups blackberries, about 24 ounces or 650g
- ⅔ cup (133g) granulated sugar, plus more for sprinkling
- 1 tablespoon lemon juice
- ¼ teaspoon ground cinnamon
- 4 tablespoons (30g) cornstarch
Instructions
- Roll out the two pie crusts to approximately 9-10 inches in diameter and place one in a 9-inch pie plate. Chill the plate and crust for at least 30 minutes.
- Remove the rolled pie crust and slice it into strips, about ½-¾ inch wide. Chill for an additional 10 minutes.
- Prepare the filling and add it to the chilled pie crust.
- Take the chilled strips and place every other strip on the pie, spaced evenly apart.
- Fold back every other strip and add the next smallest strip perpendicular to the others, then lay flat.
- Repeat with the remaining strips, folding and adding them until all crust is used. Crimp the edges as desired.
- Brush the crust with eggwash and sprinkle with sugar. Cover edges with a pie shield. Bake on a cookie sheet at 425°F for 10 minutes, then lower to 350°F for 35-45 minutes until the crust starts to brown.
- Preheat oven to 425°F.
Notes
Ensure the butter is cold for the best flaky texture in your crust.
For a sweeter pie, increase the sugar in the filling based on personal preference.
Let the pie cool before slicing to set the filling.
Nutrition
- Serving Size: 1 slice
- Calories: 200
- Sugar: 10g
- Sodium: 165mg
- Fat: 10g
- Saturated Fat: 6g
- Unsaturated Fat: 3g
- Trans Fat: 0g
- Carbohydrates: 27g
- Fiber: 3g
- Protein: 2g
- Cholesterol: 70mg