Chocolate Ice Cream

Indulging in a bowl of fresh, homemade chocolate ice cream is one of life’s simplest pleasures. The creamy, rich texture, the deeply satisfying chocolate flavor, and the joy of making it yourself create a delightful experience. There’s nothing quite like the thrill of watching ingredients transform into a frozen treat that rivals any store-bought version. Imagine scooping out velvety chocolate goodness on a hot day or serving it alongside your favorite dessert—it’s pure bliss! And the best part? You don’t need an ice cream maker or a culinary degree to whip up this treat at home.
Table of Contents
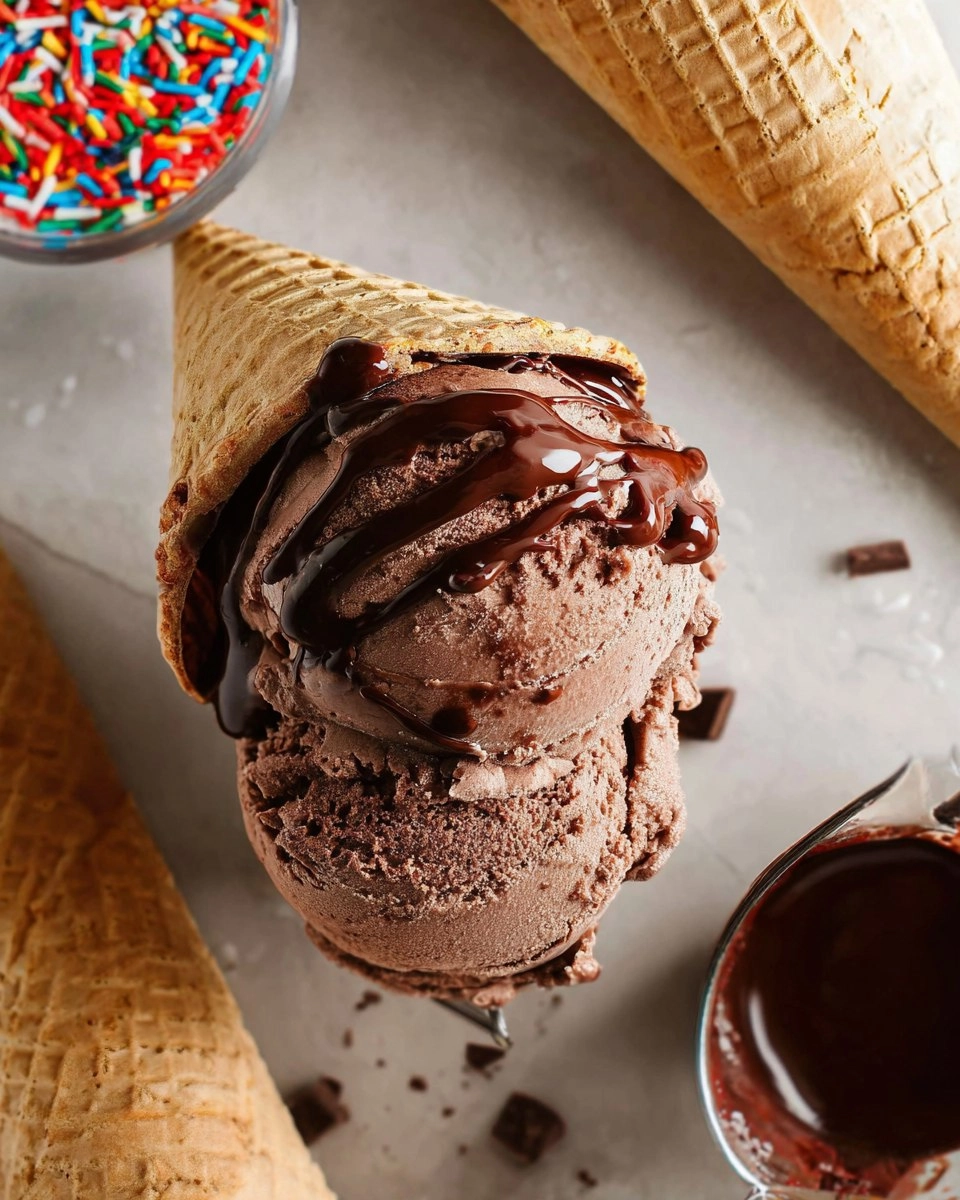
When I first made this chocolate ice cream, I was amazed at how easy and rewarding it was. Family and friends marveled at the flavor, with many proclaiming it the best chocolate ice cream they had ever tasted. The secret lies in a handful of simple ingredients that work harmoniously to produce a dessert that is, frankly, irresistible. So, gather your loved ones, grab a spoon, and let’s dive into this easy-to-follow recipe that’s bound to impress!
Why You’ll Love This Recipe
- Simple & Quick: You can have homemade chocolate ice cream ready in no time—just combine ingredients, whip, and freeze.
- Irresistible Flavor: Expect a rich, creamy chocolate flavor that is deep and satisfying, thanks to the semi-sweet chocolate and cocoa powder.
- Eye-Catching Appeal: This ice cream looks and feels like a gourmet treat. Serve it in stylish bowls for an impressive dessert presentation.
- Flexible Serving: Whether it’s a summery snack, a dinner party dessert, or a weekend breakfast treat with a twist, it’s perfect for any occasion!
- Diet-Friendly Options: Looking for alternatives? You can explore dairy-free or vegan adaptations using coconut cream and plant-based milk.
Ingredients You’ll Need
- 2 cups heavy whipping cream (1 pint; 480 ml): The key ingredient that provides the creamy base for your ice cream. Look for high-fat content for the best texture.
- 1 14-ounce can sweetened condensed milk: This adds sweetness and creaminess without needing to make a custard base. Make sure it’s unsweetened for a balanced flavor.
- 1 teaspoon pure vanilla extract or vanilla bean paste: A touch of vanilla enhances the overall flavor. Real vanilla makes all the difference!
- ⅛ teaspoon salt: A pinch of salt elevates the chocolate flavor, bringing out its richness beautifully.
- 4 ounces semi-sweet chocolate, roughly chopped (113 grams): This is your star player for a deep chocolate flavor. Feel free to use dark chocolate for a more intense taste.
- ¼ cup unsweetened natural or Dutch-process cocoa powder (22 grams): This adds an additional layer of chocolate that enriches the ice cream. Choose a high-quality cocoa for the best results.
How to Make Chocolate Ice Cream
Whip the Cream: In the bowl of a stand mixer fitted with the whisk attachment, add the 2 cups of heavy whipping cream. Start mixing on low speed, and once it starts to increase in volume, turn the speed to medium-high. Continue until stiff peaks form, then transfer it to the refrigerator to chill.
Mix the Base: In a large mixing bowl, add the 14-ounce can of sweetened condensed milk, 1 teaspoon of vanilla extract, and ⅛ teaspoon of salt. Whisk until the mixture is well combined, and set aside.
Melt the Chocolate: Place the chopped 4 ounces of semi-sweet chocolate in a microwave-safe bowl. Microwave in 30-second increments at 50% power, stirring well between each interval, until the chocolate is completely melted and smooth.
Combine with Cocoa: Whisk the melted chocolate into the sweetened condensed milk mixture. Sift in the ¼ cup of cocoa powder and whisk until fully combined. Quick tip: Don’t let this mixture sit too long; if it starts to thicken, gently reheat in the microwave to warm it slightly before folding in the whipped cream.
Fold in Whipped Cream: Take the whipped cream out of the fridge. Add about ⅓ of it to the sweetened condensed milk mixture, mixing on low speed. Then, gently fold in the remaining whipped cream with a rubber spatula until fully combined, creating a light and airy texture.
Freeze the Ice Cream: Scoop the mixture into a 9×5 loaf pan, smoothing it into one even layer. To prevent ice crystals from forming, place a piece of plastic wrap directly on the surface of the ice cream. Transfer it to the freezer to freeze overnight, or for at least 8 hours.
Storing & Reheating
You can store your chocolate ice cream in the freezer for up to 3 months in an airtight container. For the best texture, cover the surface with a layer of plastic wrap before sealing it tightly. If it hardens too much, simply let it sit at room temperature for about 10 minutes to soften before scooping. The flavor is best enjoyed fresh, but it can still be delicious after being frozen for an extended period.
Chef’s Helpful Tips
- Whipping the cream too much can lead to butter forming, so stop when stiff peaks form.
- If your chocolate mixture thickens too much before adding the whipped cream, gently rewarm it to loosen it up.
- To make ahead for a party, you can prepare the ice cream mixture a day in advance.
- Think about adding mix-ins like chocolate chips or nuts right before freezing for added texture.
Chocolate ice cream is the ultimate comfort food, ready to make any day feel special. Whether enjoyed solo or with toppings like sprinkles or whipped cream, this treat is a fantastic way to celebrate any occasion. So grab your ingredients, and take a journey back to the joys of childhood with this delightful dessert!
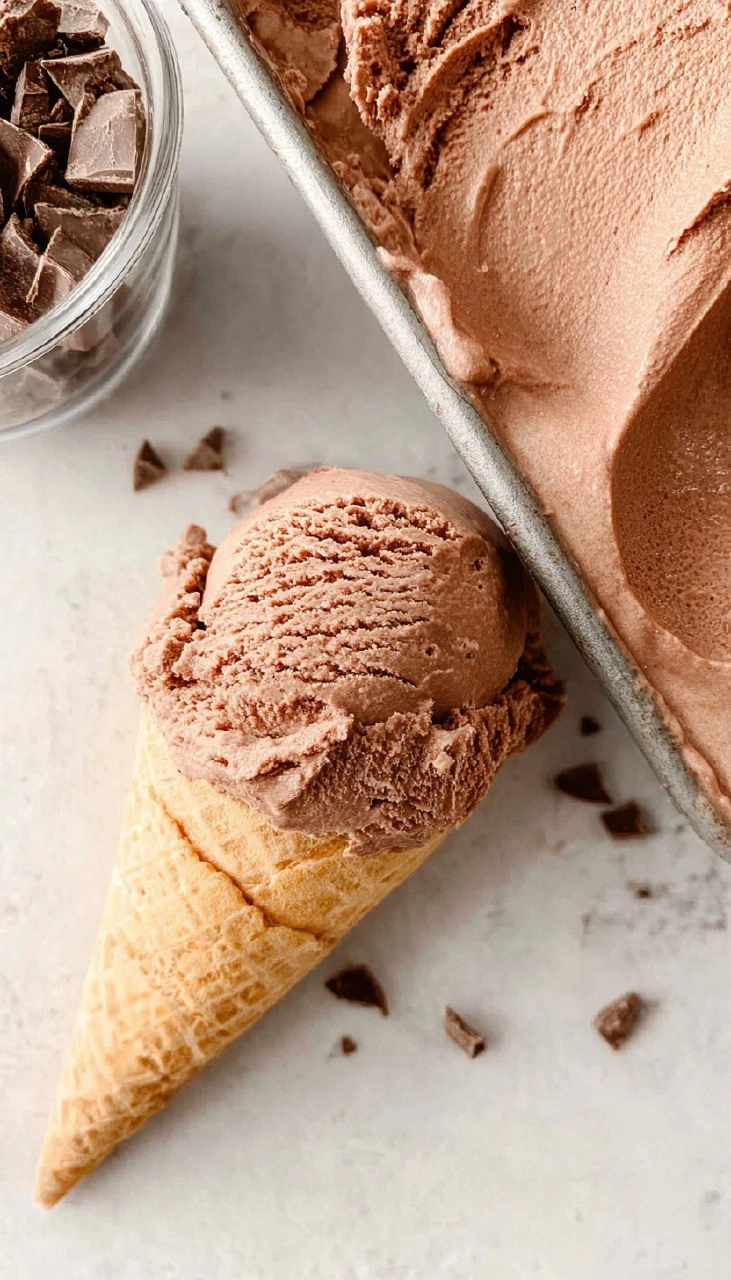
Recipe FAQs
Can I make this chocolate ice cream dairy-free?
Absolutely! You can substitute the heavy whipping cream with full-fat coconut milk and the sweetened condensed milk with a dairy-free version available at most supermarkets. This way, everyone can enjoy this delicious treat.
How long does homemade chocolate ice cream last in the freezer?
Homemade chocolate ice cream can last in the freezer for up to 3 months. Just ensure it’s stored in a well-sealed container to prevent freezer burn.
Can I add mix-ins to the chocolate ice cream?
Yes! Feel free to fold in chocolate chips, crushed cookies, or even nuts after combining the whipped cream with the chocolate mixture. Just make sure not to overload it!
What’s the best way to serve chocolate ice cream?
Serve your chocolate ice cream in cute bowls or cones and top it with your favorite toppings, like hot fudge, sprinkles, or whipped cream. You can even sandwich it between two cookies for a delightful ice cream sandwich!
PrintMore NO-BAKE Recipes
- Cookies & Cream Rice Crispy Treats
- Chocolate Peanut Butter No-Bake Cookies
- No-bake Cookies No Oatmeal
- Biscoff Rice Krispie Treats
- No-Fry Fried Ice Cream
Did You Enjoy Making This Recipe? Please rate this recipe with ⭐⭐⭐⭐⭐ or leave a comment.
📖 Recipe Card
Chocolate Ice Cream
- Prep Time: 20 minutes
- Cook Time: 5 minutes
- Total Time: 25 minutes
- Yield: 8 servings 1x
- Category: Dessert
- Method: No-Bake
- Cuisine: American
Description
This chocolate ice cream combines heavy cream and cocoa for an irresistible flavor. Easy to make, it’s perfect for satisfying those sweet cravings any day.
Ingredients
- 2 cups heavy whipping cream (1 pint; 480 ml)
- 1 14-ounce can sweetened condensed milk
- 1 teaspoon pure vanilla extract or vanilla bean paste
- ⅛ teaspoon salt
- 4 ounces semi-sweet chocolate roughly chopped (113 grams)
- ¼ cup unsweetened natural or dutch process cocoa powder (22 grams)
Instructions
- In a large mixing bowl, add heavy whipping cream and mix on low speed until volume increases; then increase to medium-high until stiff peaks form. Chill in the refrigerator.
- In another bowl, combine sweetened condensed milk, vanilla extract, and salt; whisk until combined and set aside.
- Melt chopped chocolate in a microwave-safe bowl, stirring in 30-second intervals at 50% power until smooth.
- Whisk melted chocolate into the sweetened condensed milk mixture, then sift in cocoa powder and mix until fully combined. Use immediately.
- Fold about ⅓ of the whipped cream into the chocolate mixture on low speed, then gently incorporate the remaining whipped cream with a rubber spatula until blended.
- Scoop the mixture into a 9×5 loaf pan, smoothing the top.
- Cover with plastic wrap and freeze overnight or for at least 8 hours.
Notes
For a richer chocolate flavor, you can increase the cocoa powder slightly.
Ensure that the chocolate is fully melted to avoid clumping when mixing.
Feel free to add chocolate chips or nuts for added texture.
Nutrition
- Serving Size: 1/2 cup
- Calories: 380
- Sugar: 28g
- Sodium: 75mg
- Fat: 25g
- Saturated Fat: 15g
- Unsaturated Fat: 8g
- Trans Fat: 0g
- Carbohydrates: 34g
- Fiber: 2g
- Protein: 4g
- Cholesterol: 120mg