Oreo Icebox Cake

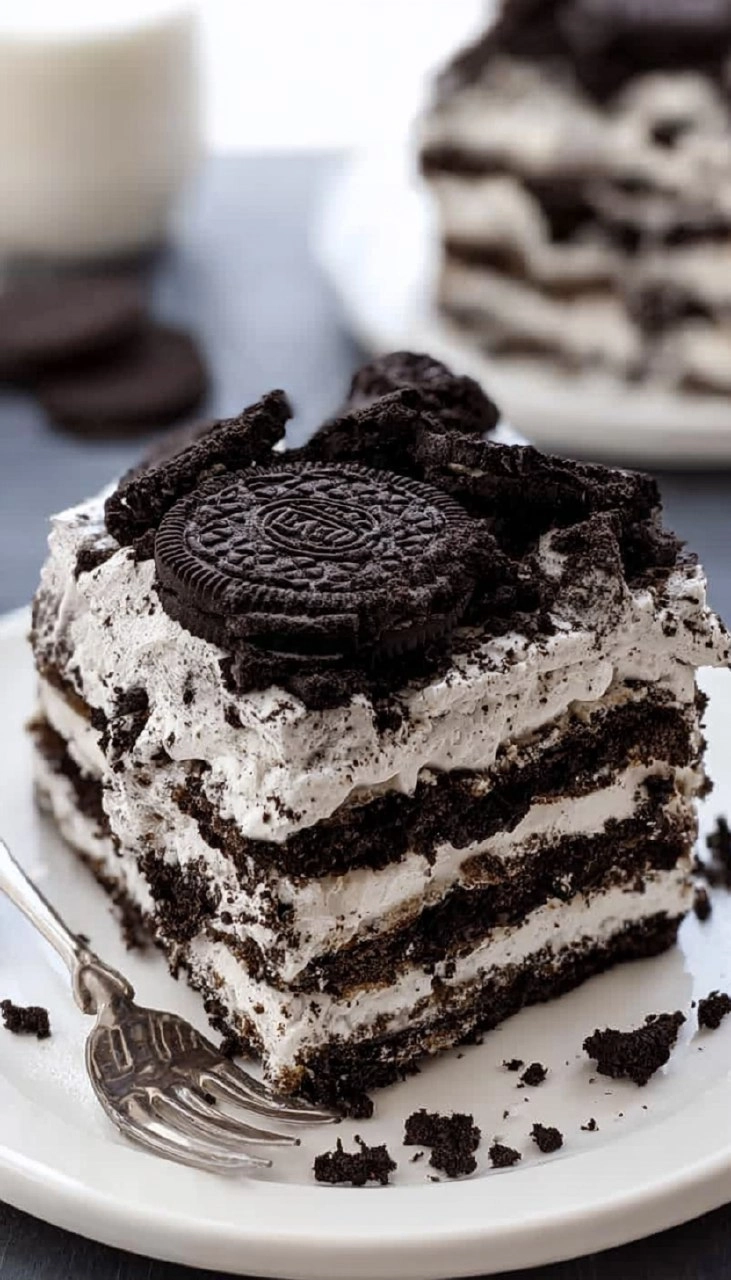
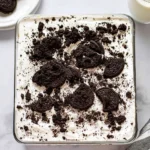
Oreo Icebox Cake is truly a delightful treat that marries the rich, chocolatey goodness of Oreo cookies with the fluffy, creamy texture of whipped cream. This dessert is a wonderful blend of flavors and textures that transforms simple ingredients into something truly special. Picture layers of chocolatey goodness, soft whipped cream, and the perfect crunch of Oreo cookies melting in your mouth. It’s the kind of dessert that reminds you of childhood pleasures and makes any gathering feel festive.
Table of Contents
I’ll never forget the first time I made Oreo Icebox Cake for my family’s summer barbecue. The moment I served it, everyone raved about how delicious it was! The beauty of this dessert lies in its simplicity; it’s an effortless no-bake cake that can be prepared in under 30 minutes, and all it needs is a little chilling time in the fridge. Plus, it’s a budget-friendly option that always pleases a crowd. I can’t wait for you to give this recipe a try!
Why You’ll Love This Recipe
- Simple & Quick: Ready in just 30 minutes plus chilling time, making it perfect for last-minute parties.
- Irresistible Flavor: The combination of rich Oreo cookies and fluffy whipped cream is truly unforgettable.
- Eye-Catching Appeal: Layers of cookies and cream look impressive, making it a showstopper at any gathering.
- Flexible Serving: Great for dessert, potlucks, or even a sweet snack during the day.
- Diet-Friendly Options: Easily adaptable for gluten-free diets by using gluten-free Oreo cookies.
Ingredients You’ll Need
- 48 Oreo cookies: The star of this treat, giving it that beloved chocolate cookie flavor.
- 4 ounces cream cheese, softened: Adds richness and helps create a smooth whipped mixture.
- 2 ½ cups (595 g) heavy whipping cream, cold: Essential for that airy and fluffy texture; it’s key to achieving the perfect whipped cream.
- ½ cup (62.5 g) confectioners’ sugar: Sweetens the whipped cream without adding graininess.
- 1 teaspoon vanilla extract: Enhances the flavors and provides a warm undertone.
- Crushed Oreo cookies: For topping, adding a crunchy finish and delicious Oreo flavor.
How to Make Oreo Icebox Cake
- Chill the Mixing Equipment: Begin by placing the bowl of a stand mixer and the whisk attachment in the freezer for about 15 to 20 minutes. Chilled equipment helps achieve the best whipped cream texture.
- Beat the Cream Cheese: In the chilled bowl, beat 4 ounces of softened cream cheese until it’s smooth and creamy. This step is vital for a lump-free filling.
- Mix the Whipped Cream: Add 2 ½ cups of cold heavy whipping cream, ½ cup of confectioners’ sugar, and 1 teaspoon of vanilla extract to the bowl. Beat on medium-high speed until stiff peaks form but be careful not to overbeat; we don’t want butter!
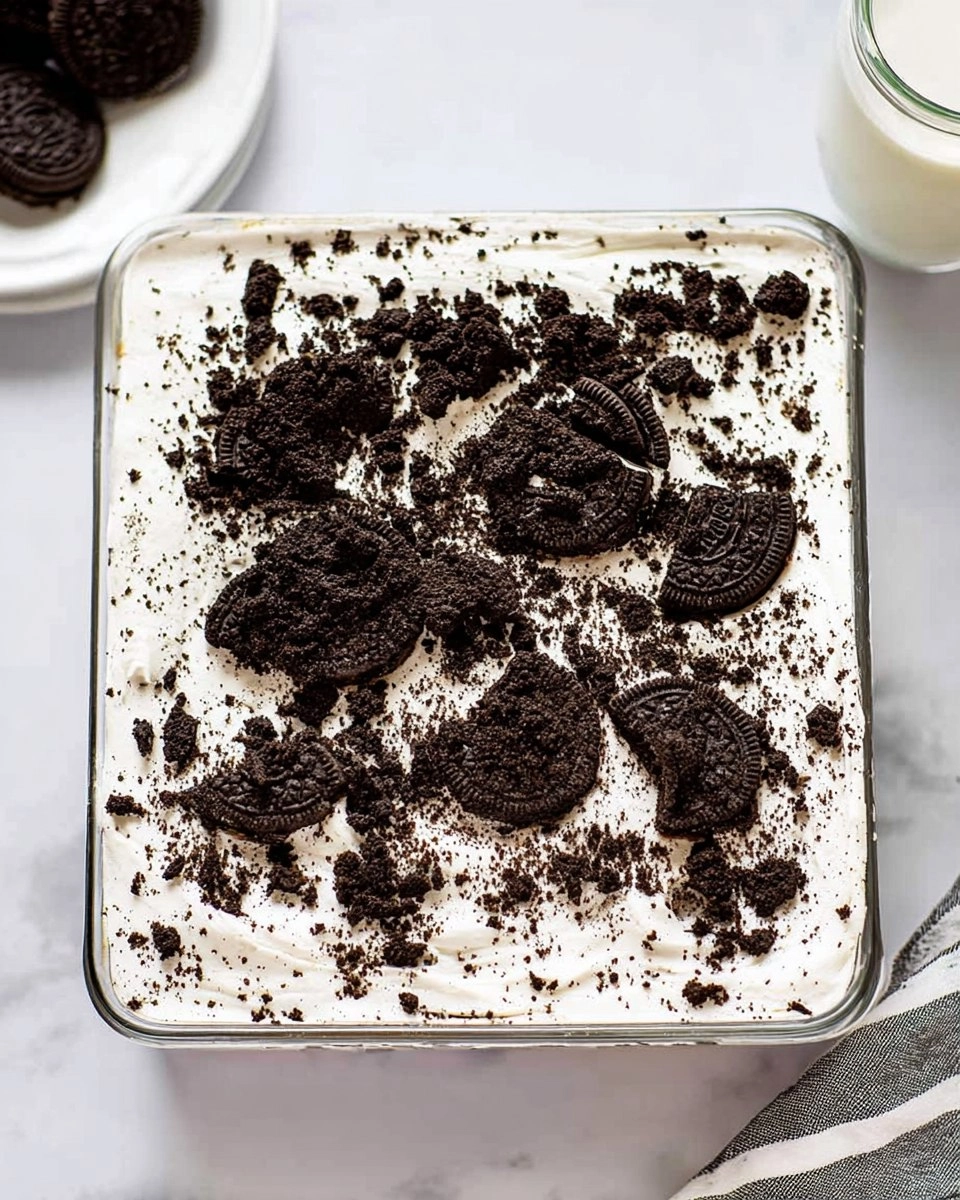
- Create the First Layer: Spread a thin layer of the whipped cream mixture into the bottom of an 8×8-inch baking dish. This layer creates a stable base for the cookies.
- Add Oreo Cookies: Take your Oreo cookies and arrange them in a single layer over the whipped cream. Don’t hesitate to break some cookies to fit them all in nicely.
- Add More Whipped Cream: Spread about one-third of the remaining whipped cream mixture evenly over the cookies. This adds to the creaminess of each bite.
- Repeat the Layers: Repeat the layering process two more times, ending with that creamy whipped cream on top.
- Crushed Cookies Topping: Sprinkle the top generously with crushed Oreo cookies, which adds visual appeal and texture.
- Chill: Cover the dish tightly with plastic wrap and refrigerate for at least 6 to 8 hours, or ideally overnight. This step is crucial as the cookies need time to soften and blend into the creamy layers.
- Serve: For the best experience, serve the cake cold. If you want cleaner slices, freeze the cake for 20 to 30 minutes before cutting into it.
Storing & Reheating
Store any leftover Oreo Icebox Cake in the refrigerator for up to 3 days, covered tightly to maintain freshness. If you have a longer timeframe, you can freeze the cake for up to 3 months in an airtight container. While there’s no need to reheat this dessert, if you find the texture changing after freezing, let it sit at room temperature for a few minutes before serving for the best flavor experience.
Chef’s Helpful Tips
- Always chill your mixing bowl for the whipped cream; this helps it whip up lighter and fluffier.
- Avoid overbeating the whipped cream. Once you see stiff peaks, stop the mixer to maintain a light texture.
- If you want to make it ahead of time, feel free to prepare it a day in advance; the flavor improves with time!
- To make a gluten-free version, simply swap regular Oreos with gluten-free ones.
- For a touch of creativity, consider drizzling chocolate sauce on top before serving for added decadence.
Oreo Icebox Cake is not just a dessert; it’s an experience packed with nostalgia, creamy enjoyment, and effortless preparation. The combination of rich Oreos and cool whipped cream transforms into layers of pure delight that everyone will love. Don’t hesitate to whip this up for gatherings, casual weekends, or even as a treat for yourself. There are so many ways to make it yours—so go ahead and add your spin to this classic!
Recipe FAQs
Can I use homemade whipped cream instead of store-bought?
Absolutely! Just make sure to use the same measurements (2 ½ cups of whipped cream). The homemade variety can be even more delightful since it’s free from stabilizers, making it taste wonderfully fresh.
How long can I store this cake in the refrigerator?
You can store Oreo Icebox Cake in the refrigerator for up to 3 days. Just keep it covered to keep it fresh.
Can I make this cake dairy-free?
Yes! To make a dairy-free version, use coconut cream in place of heavy cream and a dairy-free cream cheese alternative. Also, check for dairy-free Oreo brands.
What can I substitute for cream cheese?
If you’re looking for a lighter flavor, consider using mascarpone cheese for a different twist. If necessary, you can also opt for a thick Greek yogurt, but keep in mind it may alter the final taste and texture slightly.
PrintMore NO-BAKE Recipes
- Strawberry Swirl Marshmallows
- Cookies & Cream Rice Crispy Treats
- Bailey’s Irish Cream Tiramisu | Easy No-Bake Dessert
- Creamy No Bake Apple Cheesecake Pie
- Berry Tiramisu
Did You Enjoy Making This Recipe? Please rate this recipe with ⭐⭐⭐⭐⭐ or leave a comment.
📖 Recipe Card
Oreo Icebox Cake
- Prep Time: 15 minutes
- Cook Time: 0 minutes
- Total Time: 15 minutes
- Yield: 9 servings 1x
- Category: No-Bake
- Method: Chilling
- Cuisine: American
Description
This Oreo Icebox Cake features layers of Oreo cookies, creamy whipped filling, and crushed Oreos on top. It’s a simple, no-bake treat that’s perfect for any occasion and ideal for chocolate lovers!
Ingredients
- 48 oreo cookies
- 4 ounces cream cheese, softened
- 2 ½ cups (595 g) heavy whipping cream, cold
- ½ cup (62.5 g) confectioners' sugar
- 1 teaspoon vanilla extract
- 1 cup crushed Oreo cookies
Instructions
- Chill the bowl and whisk attachment of the stand mixer in the freezer for 15 to 20 minutes.
- In the chilled bowl, beat the cream cheese until smooth. Add the heavy whipping cream, confectioners' sugar, and vanilla extract, then beat on medium-high speed until stiff peaks form; avoid overbeating.
- Spread a thin layer of the whipped cream mixture in the bottom of an 8×8-inch baking dish.
- Layer Oreo cookies over the whipped cream, breaking some cookies as needed to fit.
- Spread about one-third of the remaining whipped cream mixture evenly over the cookies.
- Repeat the layers two more times, finishing with a layer of whipped cream on top.
- Sprinkle crushed Oreo cookies on top.
- Cover tightly and refrigerate for at least 6 to 8 hours or overnight for best results. The cookies will soften, forming a cake-like texture.
- Serve cold. For cleaner slices, place the cake in the freezer for 20 to 30 minutes before cutting.
Notes
For an even richer flavor, use double-stuffed Oreos.
This cake can be made a day in advance, making it perfect for parties.
Add chocolate shavings for an extra decadent touch.
Nutrition
- Serving Size: 1 slice
- Calories: 380
- Sugar: 19g
- Sodium: 250mg
- Fat: 30g
- Saturated Fat: 18g
- Unsaturated Fat: 12g
- Trans Fat: 0g
- Carbohydrates: 30g
- Fiber: 1g
- Protein: 3g
- Cholesterol: 80mg